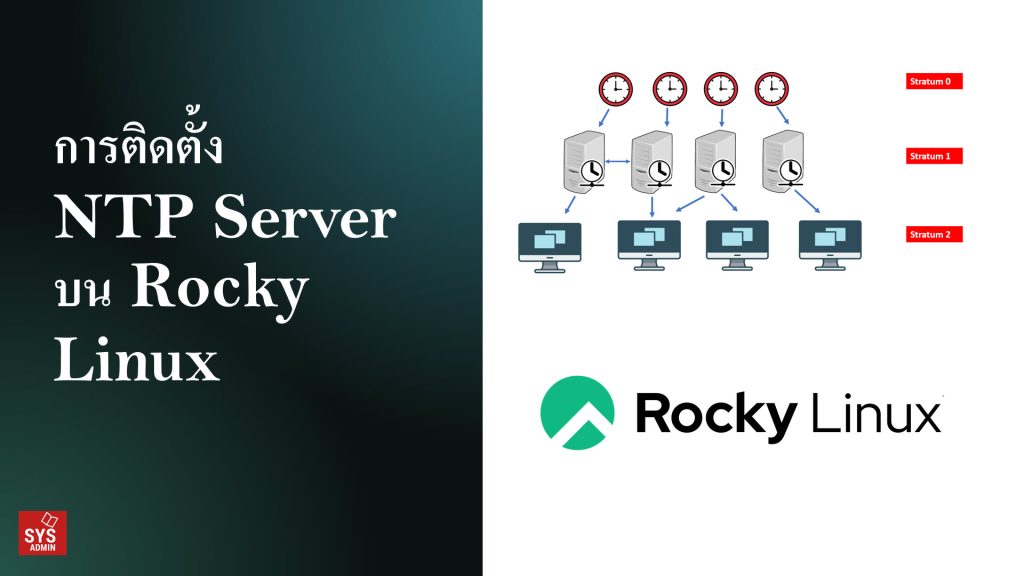
การติดตั้ง NTP Server บน Rocky Linux
1. ทำการอัปเดทระบบ
sudo dnf update -y
2. ตรวจสอบ Time Zone
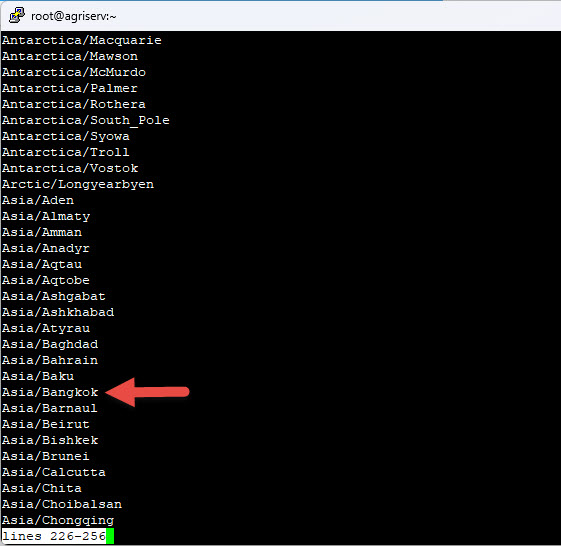
3. กำหนด Time Zone
sudo timedatectl set-timezone Asia/Bangkok
4. ตรวจสอบ Time Zone ที่ใช้งานอยู่
timedatectl
ls -l /etc/localtime

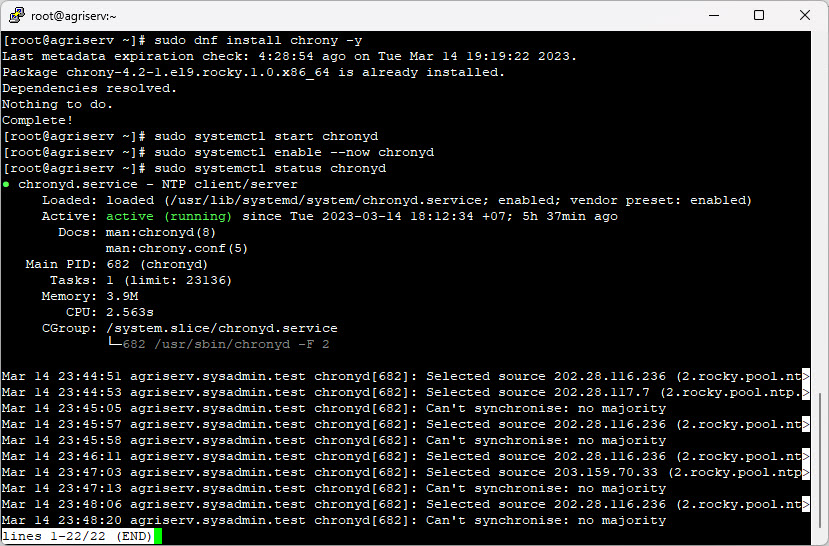
5. ติดตั้ง Chrony NTP Server บน Rocky Linux
sudo dnf install chrony -y
sudo systemctl enable –now chronyd
sudo systemctl status chronyd
ตรวจสอบสถานะ
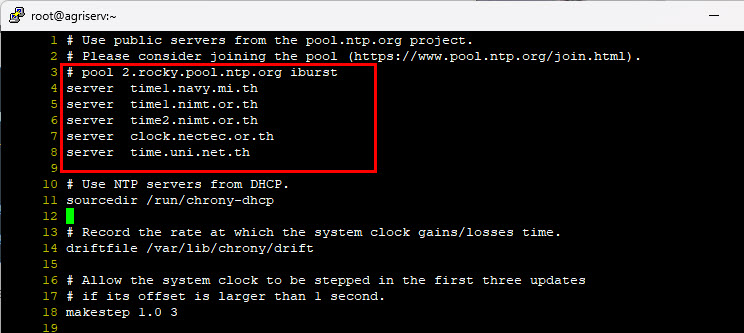
6. ปรับแต่ง Chrony NTP server
sudo vi /etc/chrony.conf
ทำการ Comment และใส่ NTP Server หน่วยงานเทียบเวลาในไทย
# pool 2.rocky.pool.ntp.org iburst
server time1.navy.mi.th
server time1.nimt.or.th
server time2.nimt.or.th
server clock.nectec.or.th
server time.uni.net.th
—————————-
Note.
– สถาบันมาตรวิทยาแห่งชาติ
time1.nimt.or.th = 164.115.133.40
time2.nimt.or.th = 164.115.133.41
– กรมอุทกศาสตร์ กองทัพเรือ
time1.navy.mi.th = 203.147.59.17
NECTEC – ศูนย์เทคโนโลยีอิเล็กทรอนิกส์และคอมพิวเตอร์แห่งชาติ
clock.nectec.or.th = 203.185.67.115
– UniNet – โครงการเครือข่ายสารสนเทศเพื่อพัฒนาการศึกษา (Inter University Network)
time.uni.net.th = 202.28.18.72
—————————-
7. enable NTP synchronization
sudo timedatectl set-ntp true
8. สั่งรีสต๊าท NTP
sudo systemctl restart chronyd
9. กำหนดให้ NTP Server ผ่าน Firewall
sudo firewall-cmd –add-service=ntp –permanent
sudo firewall-cmd –reload
10. แสดง NTP sources
chronyc sources

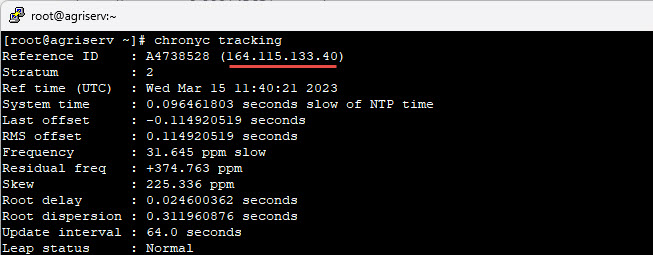
11. ตรวจสอบสถานะการซิงค์
chronyc tracking
————
ตรวจสอบ Client ที่เข้ามาใช้งาน NTP Server
chronyc clients
กำหนดฝั่ง Client ที่เป็น Linux
sudo dnf install chrony -y
sudo nano /etc/chrony.conf
#pool 2.fedora.pool.ntp.org iburst
server 192.168.201.2 # ระบุไอพี NTP Server
allow 192.168.2.0/24
sudo systemctl restart chronyd
sudo timedatectl set-ntp true
sudo systemctl start chronyd
sudo systemctl enable –nows chronyd
chronyc sources
chronyc tracking
sudo chronyc clients
—
Write by SysAdmin Knowledge
https://www.sysadmin.in.th
March 16, 2023

