การติดตั้งฐานข้อมูล MariaDB Server บน Rocky Linux 9
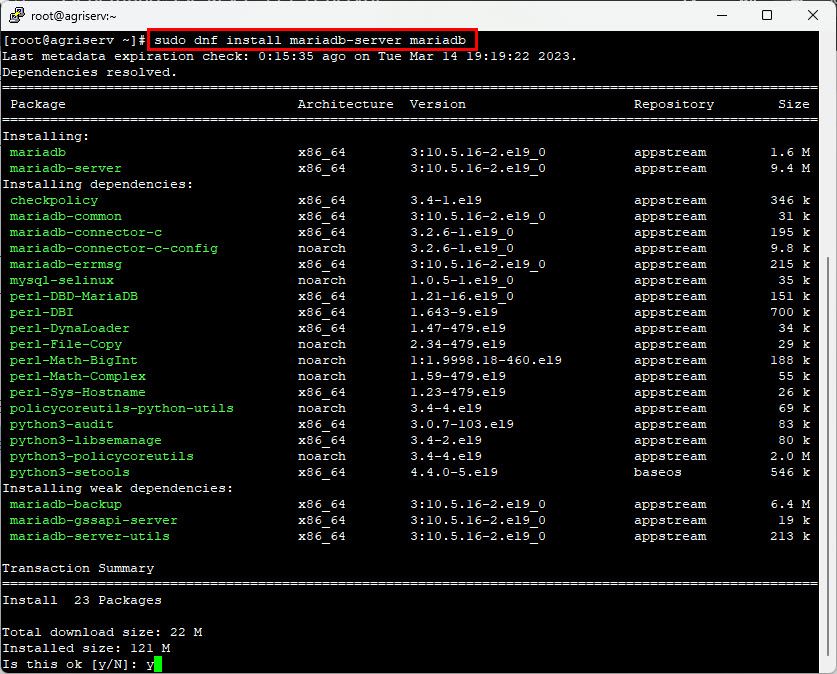
1. ติดตั้งแพ็กเกจ
sudo dnf install mariadb-server mariadb
หรือ
sudo dnf -y install @mariadb
2. ตรวจสอบเวอร์ชั่น MySQL
[root@agriserv ~]# sudo mariadb –version
mariadb Ver 15.1 Distrib 10.5.16-MariaDB, for Linux (x86_64) using EditLine wrapper

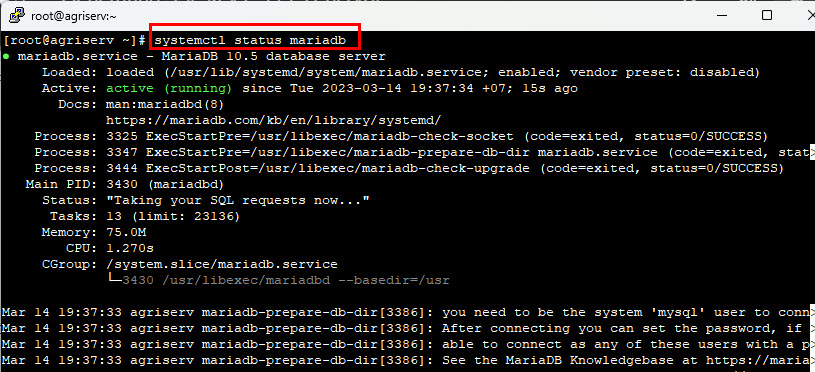
3. ทำการสต๊าทและกำหนดให้ทำงานตอนบู๊ตระบบ
sudo systemctl enable mariadb –now
sudo systemctl start mariadb
systemctl status mariadb
4. กำหนดรหัสผ่านฐานข้อมูล
กำหนดรหัสผ่านฐานข้อมูล
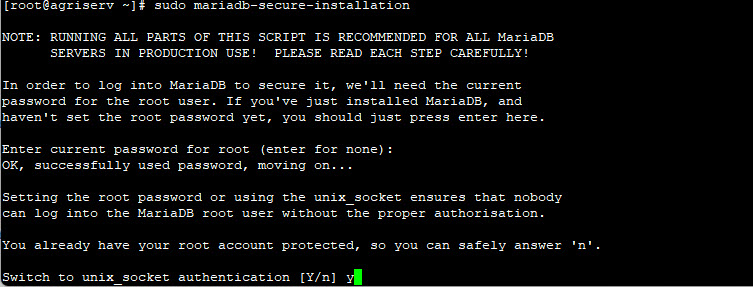
sudo mariadb-secure-installation
sudo mysql -u root -p
หรือ
sudo mysql_secure_installation
[root@agriserv ~]# sudo mariadb-secure-installation
NOTE: RUNNING ALL PARTS OF THIS SCRIPT IS RECOMMENDED FOR ALL MariaDB
SERVERS IN PRODUCTION USE! PLEASE READ EACH STEP CAREFULLY!
In order to log into MariaDB to secure it, we’ll need the current
password for the root user. If you’ve just installed MariaDB, and
haven’t set the root password yet, you should just press enter here.
Enter current password for root (enter for none): กดปุ่ม Enter
OK, successfully used password, moving on…
Setting the root password or using the unix_socket ensures that nobody
can log into the MariaDB root user without the proper authorisation.
You already have your root account protected, so you can safely answer ‘n’.
Switch to unix_socket authentication [Y/n] y
Enabled successfully!
Reloading privilege tables..
… Success!
You already have your root account protected, so you can safely answer ‘n’.
Change the root password? [Y/n] y
New password: รหัสผ่าน
Re-enter new password: ยืนยันรหัสผ่าน
Password updated successfully!
Reloading privilege tables..
… Success!
By default, a MariaDB installation has an anonymous user, allowing anyone
to log into MariaDB without having to have a user account created for
them. This is intended only for testing, and to make the installation
go a bit smoother. You should remove them before moving into a
production environment.
Remove anonymous users? [Y/n] y
… Success!
Normally, root should only be allowed to connect from ‘localhost’. This
ensures that someone cannot guess at the root password from the network.
Disallow root login remotely? [Y/n] y
… Success!
By default, MariaDB comes with a database named ‘test’ that anyone can
access. This is also intended only for testing, and should be removed
before moving into a production environment.
Remove test database and access to it? [Y/n] y
– Dropping test database…
… Success!
– Removing privileges on test database…
… Success!
Reloading the privilege tables will ensure that all changes made so far
will take effect immediately.
Reload privilege tables now? [Y/n] y
… Success!
Cleaning up…
All done! If you’ve completed all of the above steps, your MariaDB
installation should now be secure.
Thanks for using MariaDB!
[root@agriserv ~]#
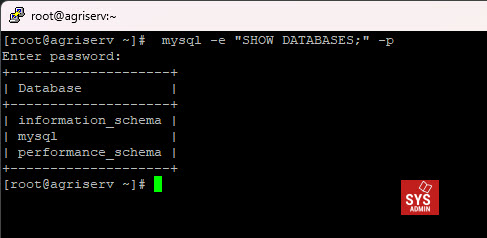
5. ทดสอบเข้าใช้งาน MySQL
[root@agriserv ~]# sudo mysql -u root -p
Enter password: รหัสผ่าน
MariaDB [(none)]> show databases;
+——————–+
| Database |
+——————–+
| information_schema |
| mysql |
| performance_schema |
+——————–+
3 rows in set (0.002 sec)
MariaDB [(none)]> exit
Bye
[root@agriserv ~]#
—
Write by SysAdmin Knowledge
https://www.sysadmin.in.th
February 5, 2023

