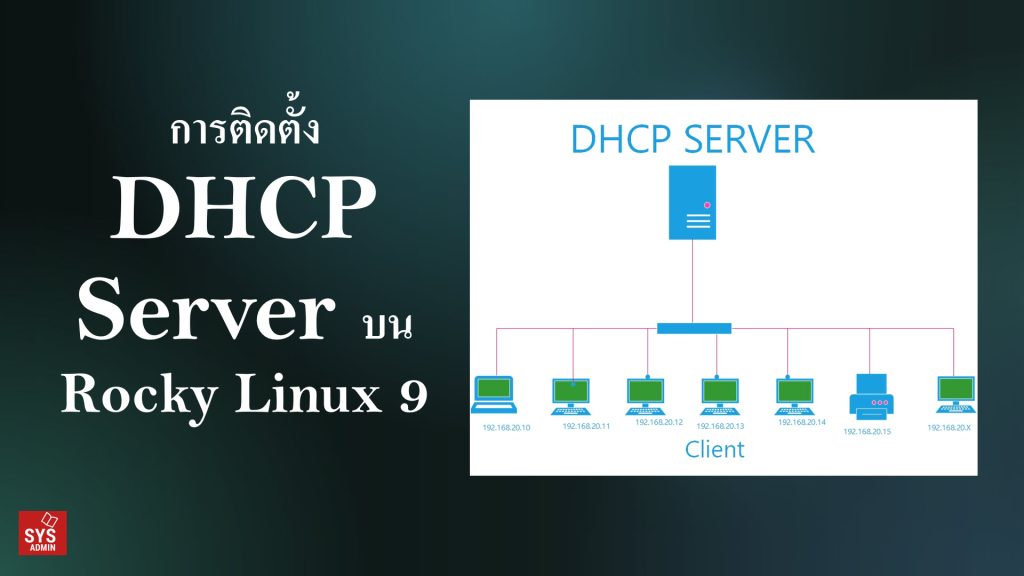
การติดตั้ง DHCP Server บน Rocky Linux 9
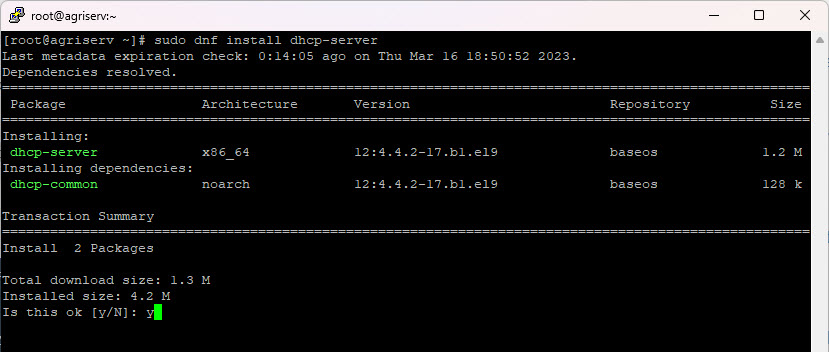
1. ติดตั้งแพ็กเกจ dhcp-server
sudo dnf update
sudo dnf install dhcp-server -y
sudo dnf install dnf-utils -y

2. เข้าปรับแต่งคอนฟิก (กำหนดโซน ip ที่ต้องการให้เครื่องลูกข่ายใช้งาน)
sudo nano /etc/dhcp/dhcpd.conf
—————-
option domain-name “sysadmin.in.th”;
option domain-name-servers ns1.sysadmin.in.th;
default-lease-time 900;
max-lease-time 10800;
ddns-update-style none;
authoritative;
subnet 192.168.20.0 netmask 255.255.255.0 {
range 192.168.20.10 192.168.20.200;
option routers 192.168.20.1;
option subnet-mask 255.255.255.0;
option domain-name-servers 192.168.20.1, 8.8.8.8;
}
3. กำหนดให้สามารถใช้งานผ่าน Firewall ได้
firewall-cmd –add-port=67/udp –permanent
firewall-cmd –reload
4. สั่งสต๊าทบริการ และพร้อมกำหนดให้ทำงานตอนบู๊ตระบบ
sudo systemctl start dhcpd
sudo systemctl enable dhcpd –now
5. ตรวจสอบสถานะ
sudo systemctl status dhcpd
Note.
การสงวนไอพีสำหรับผู้บริหาร หรืออุปกรณ์ฮาร์ดแวร์ (Configure DHCP reservations)
host client1 {
hardware ethernet 00:66:46:25:44:55;
fixed-address 192.168.20.100;
}
—
ที่มา:
https://idroot.us/configure-dhcp-server-on-rocky-linux-9/
—
Write by SysAdmin Knowledge
https://www.sysadmin.in.th
March 3, 2023


