การติดตั้ง Apache Web Server บน Rocky Linux 9
1. ทำการอัปเดทระบบ
sudo dnf update
2. ติดตั้งแพ็กเกจ Apache HTTPd Server
sudo dnf install httpd
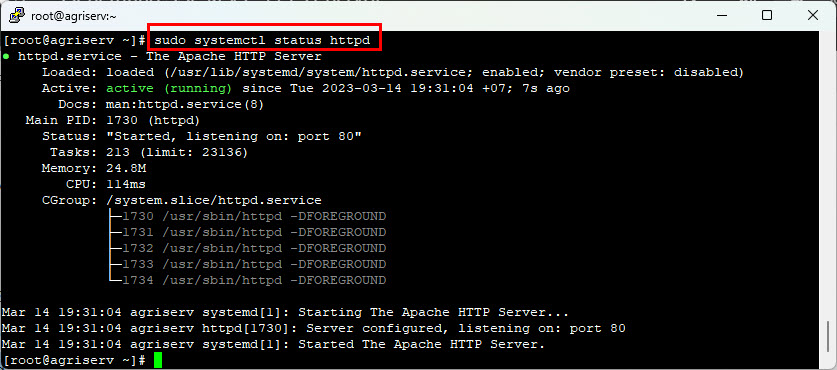
3. กำหนดให้ Apache ทำงานตอนบู๊ตระบบ
sudo systemctl enable httpd –now
sudo systemctl start httpd
sudo systemctl status httpd
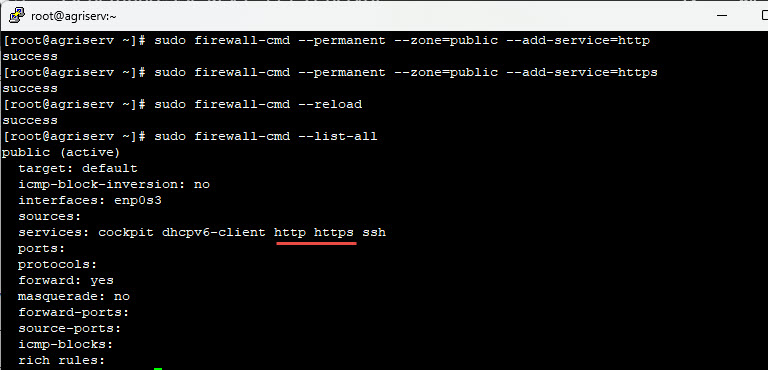
4. กำหนดพอร์ตให้ผ่าน Firewalld
Add Apache server to firewall
sudo firewall-cmd –permanent –zone=public –add-service=http
sudo firewall-cmd –permanent –zone=public –add-service=https
sudo firewall-cmd –reload
sudo firewall-cmd –list-all

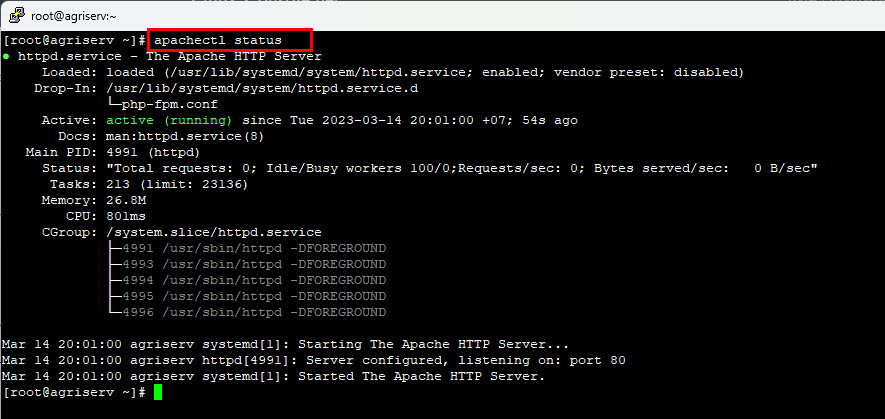
5. ตรวจสอบสถานะ Apache
sudo apachectl status
หรือ
ps -eo comm,etime,user | grep httpd
ps -eo comm,etime,user | grep root | grep httpd
ps -ef | egrep “(UID|httpd)”
6. ตรวสอบไฟล์คอนฟิก
sudo apachectl configtest

7. ทดสอบเรียกใช้งานเว็บไซต์จากเว็บเบราเซอร์ฝั่ง Client
ทดสอบ
http://IP_Address
or
http://127.0.0.1

—
Write by SysAdmin Knowledge
https://www.sysadmin.in.th
February 1, 2023

